Content Transcription and Entity Markup
Info
To use the text extraction and entity recognition capabilities you need to register with describo.cloud and purchase credits.
As a researcher you are likely collecting images of manuscripts and periodicals that you wish to transcribe in order to find, describe and analyse the narratives in that data. Typically, you might start by making notes about the people and organisations (who), events (what), dates (when) and places (where) described in the content in order to establish a context for the content.
With Describo, this process is simplified significantly with tools to mark up the entities in the content in the RO-Crate as entities attached to the specific file.
Get started by setting the mode to Cultural Collection Manager on the dashboard and then select your folder. (Using the Data Description mode will also work but the CCM mode is designed for this use case.)
Describe Tab
When the workspace loads, the describe tab will be loaded. The metadata will be shown in the middle pane. If you navigate to the entities tab you can start by describing the entities you think will be of interest when transcribing content. You don't need to do this, but if you have some idea of what you'll find in the content, describing it here will help.
Then, when you are marking up entities in the text, Describo can offer these entities as lookups.
Transcription Tab
Navigate to the transcription tab and you will see a 3 pane layout. In the first pane is the file browser showing only images in your folder. As this section works with image files, only those files will be shown in the file browser. Supported file types are files with the extension 'jpg', 'jpeg', 'png'.
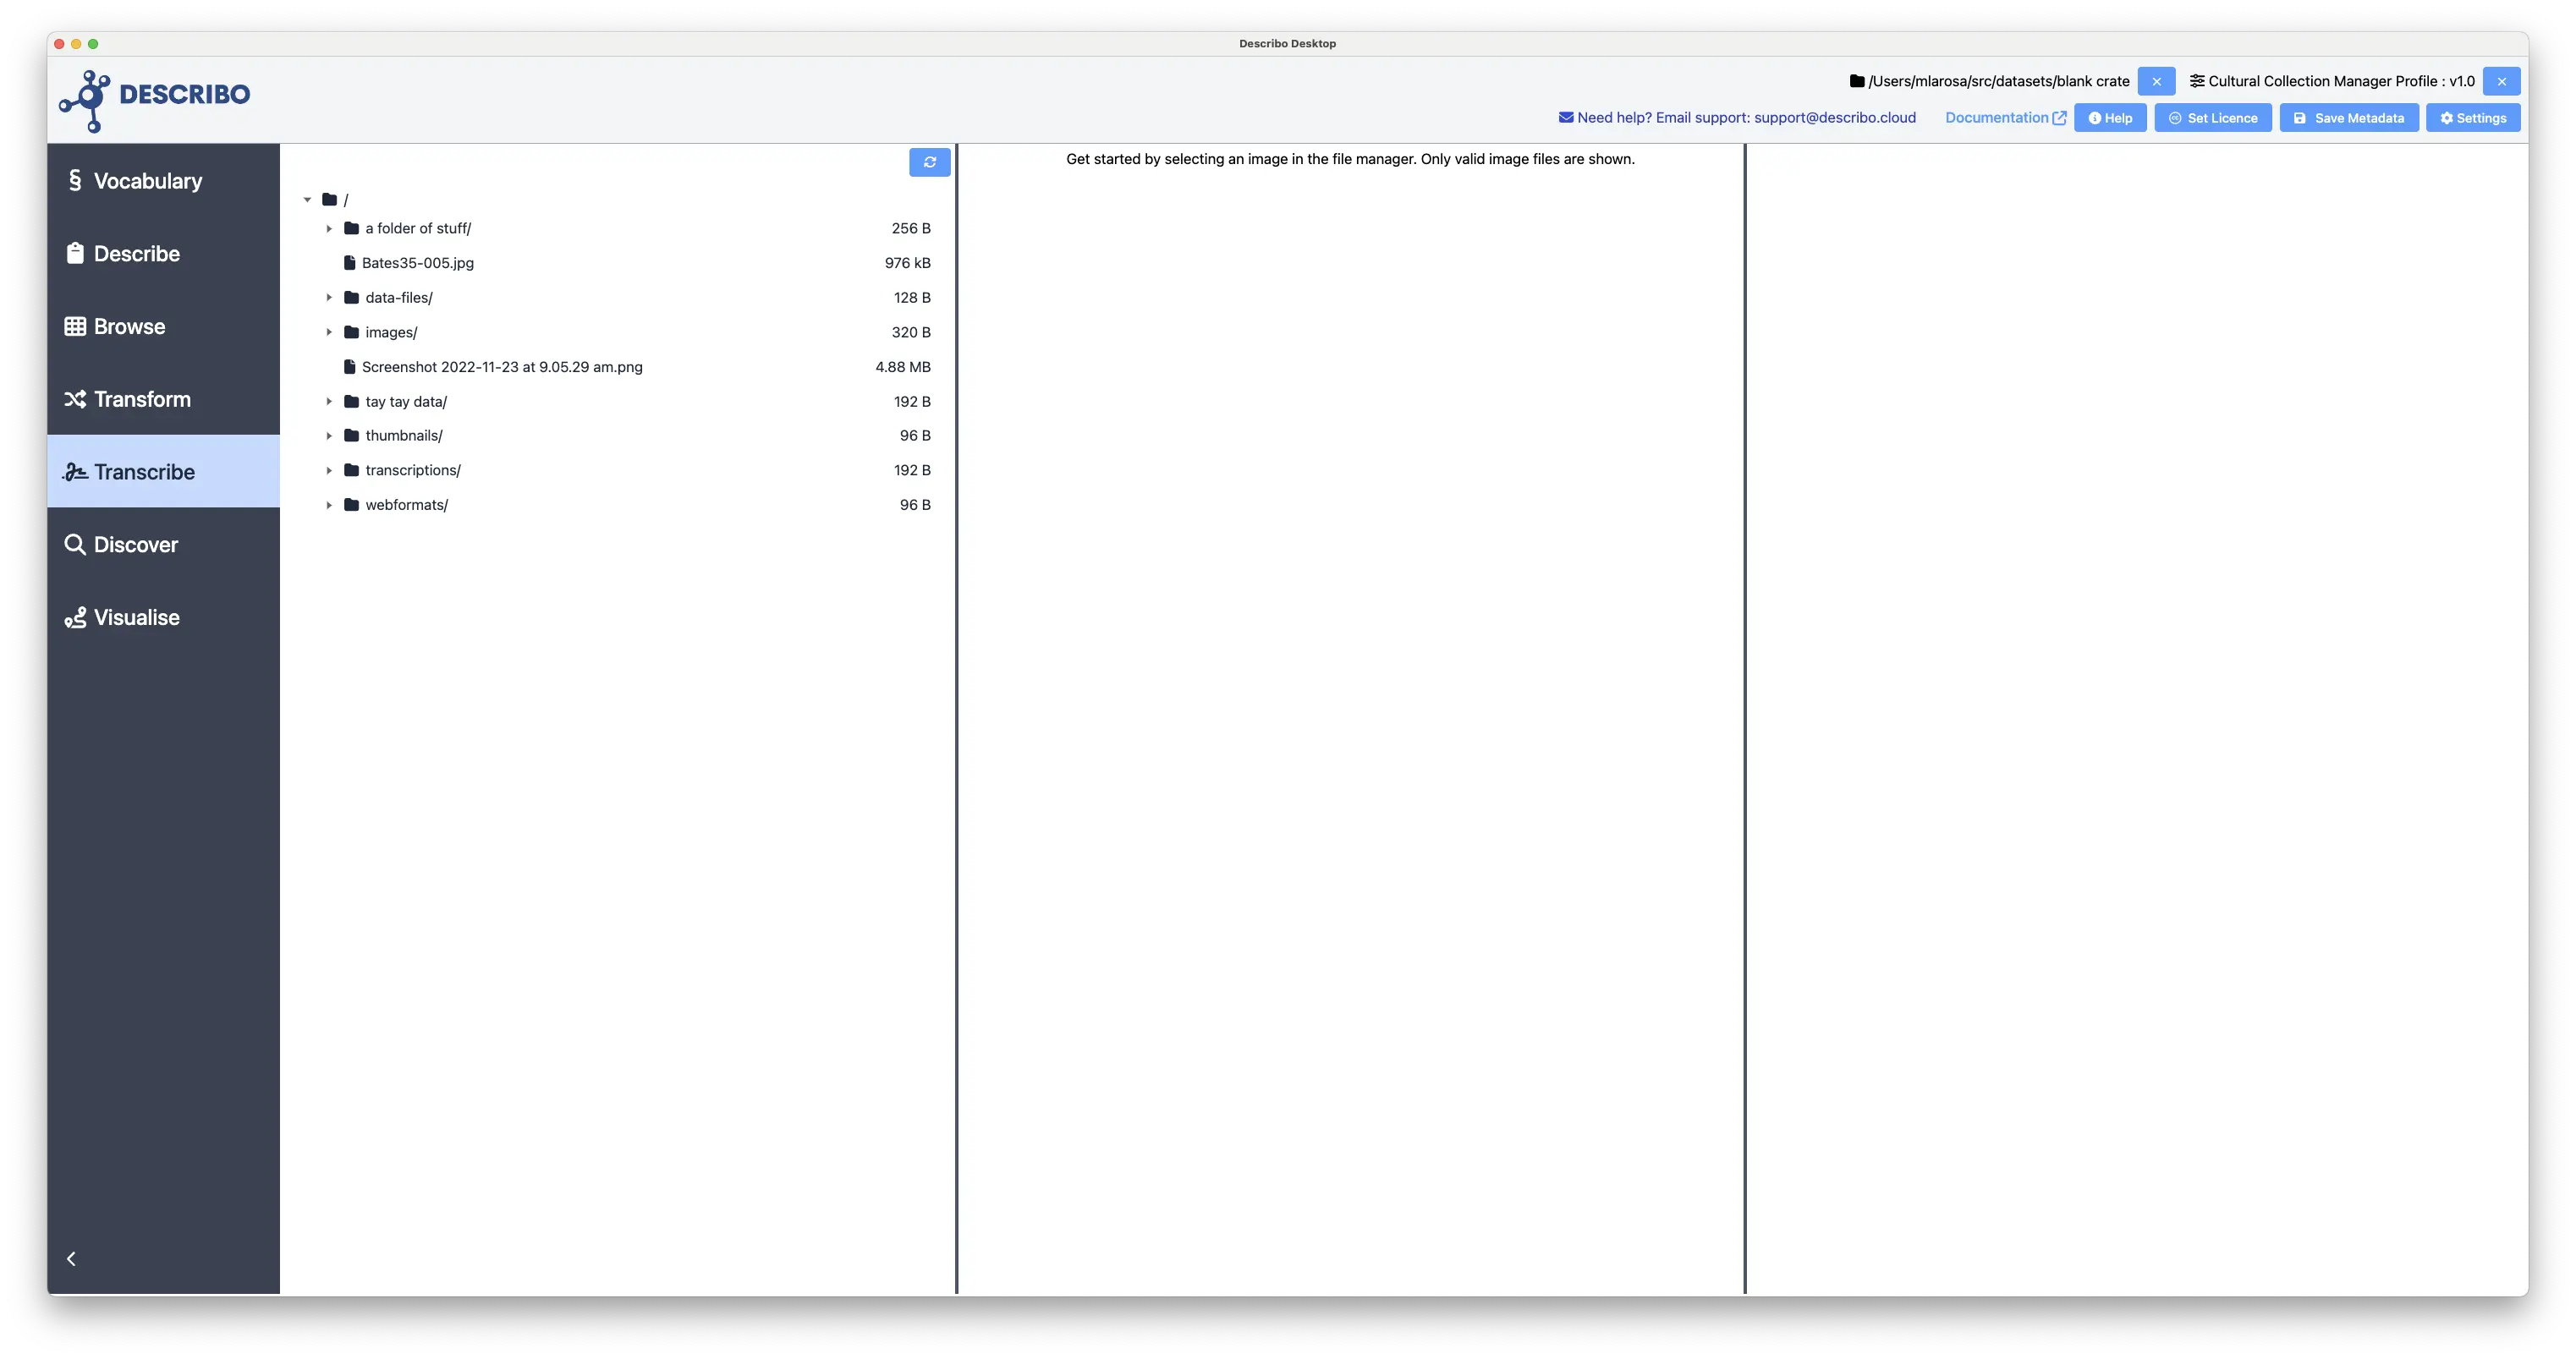
Get started by selecting an image file. The file will be loaded into the middle panel and the third panel will become a text editor.
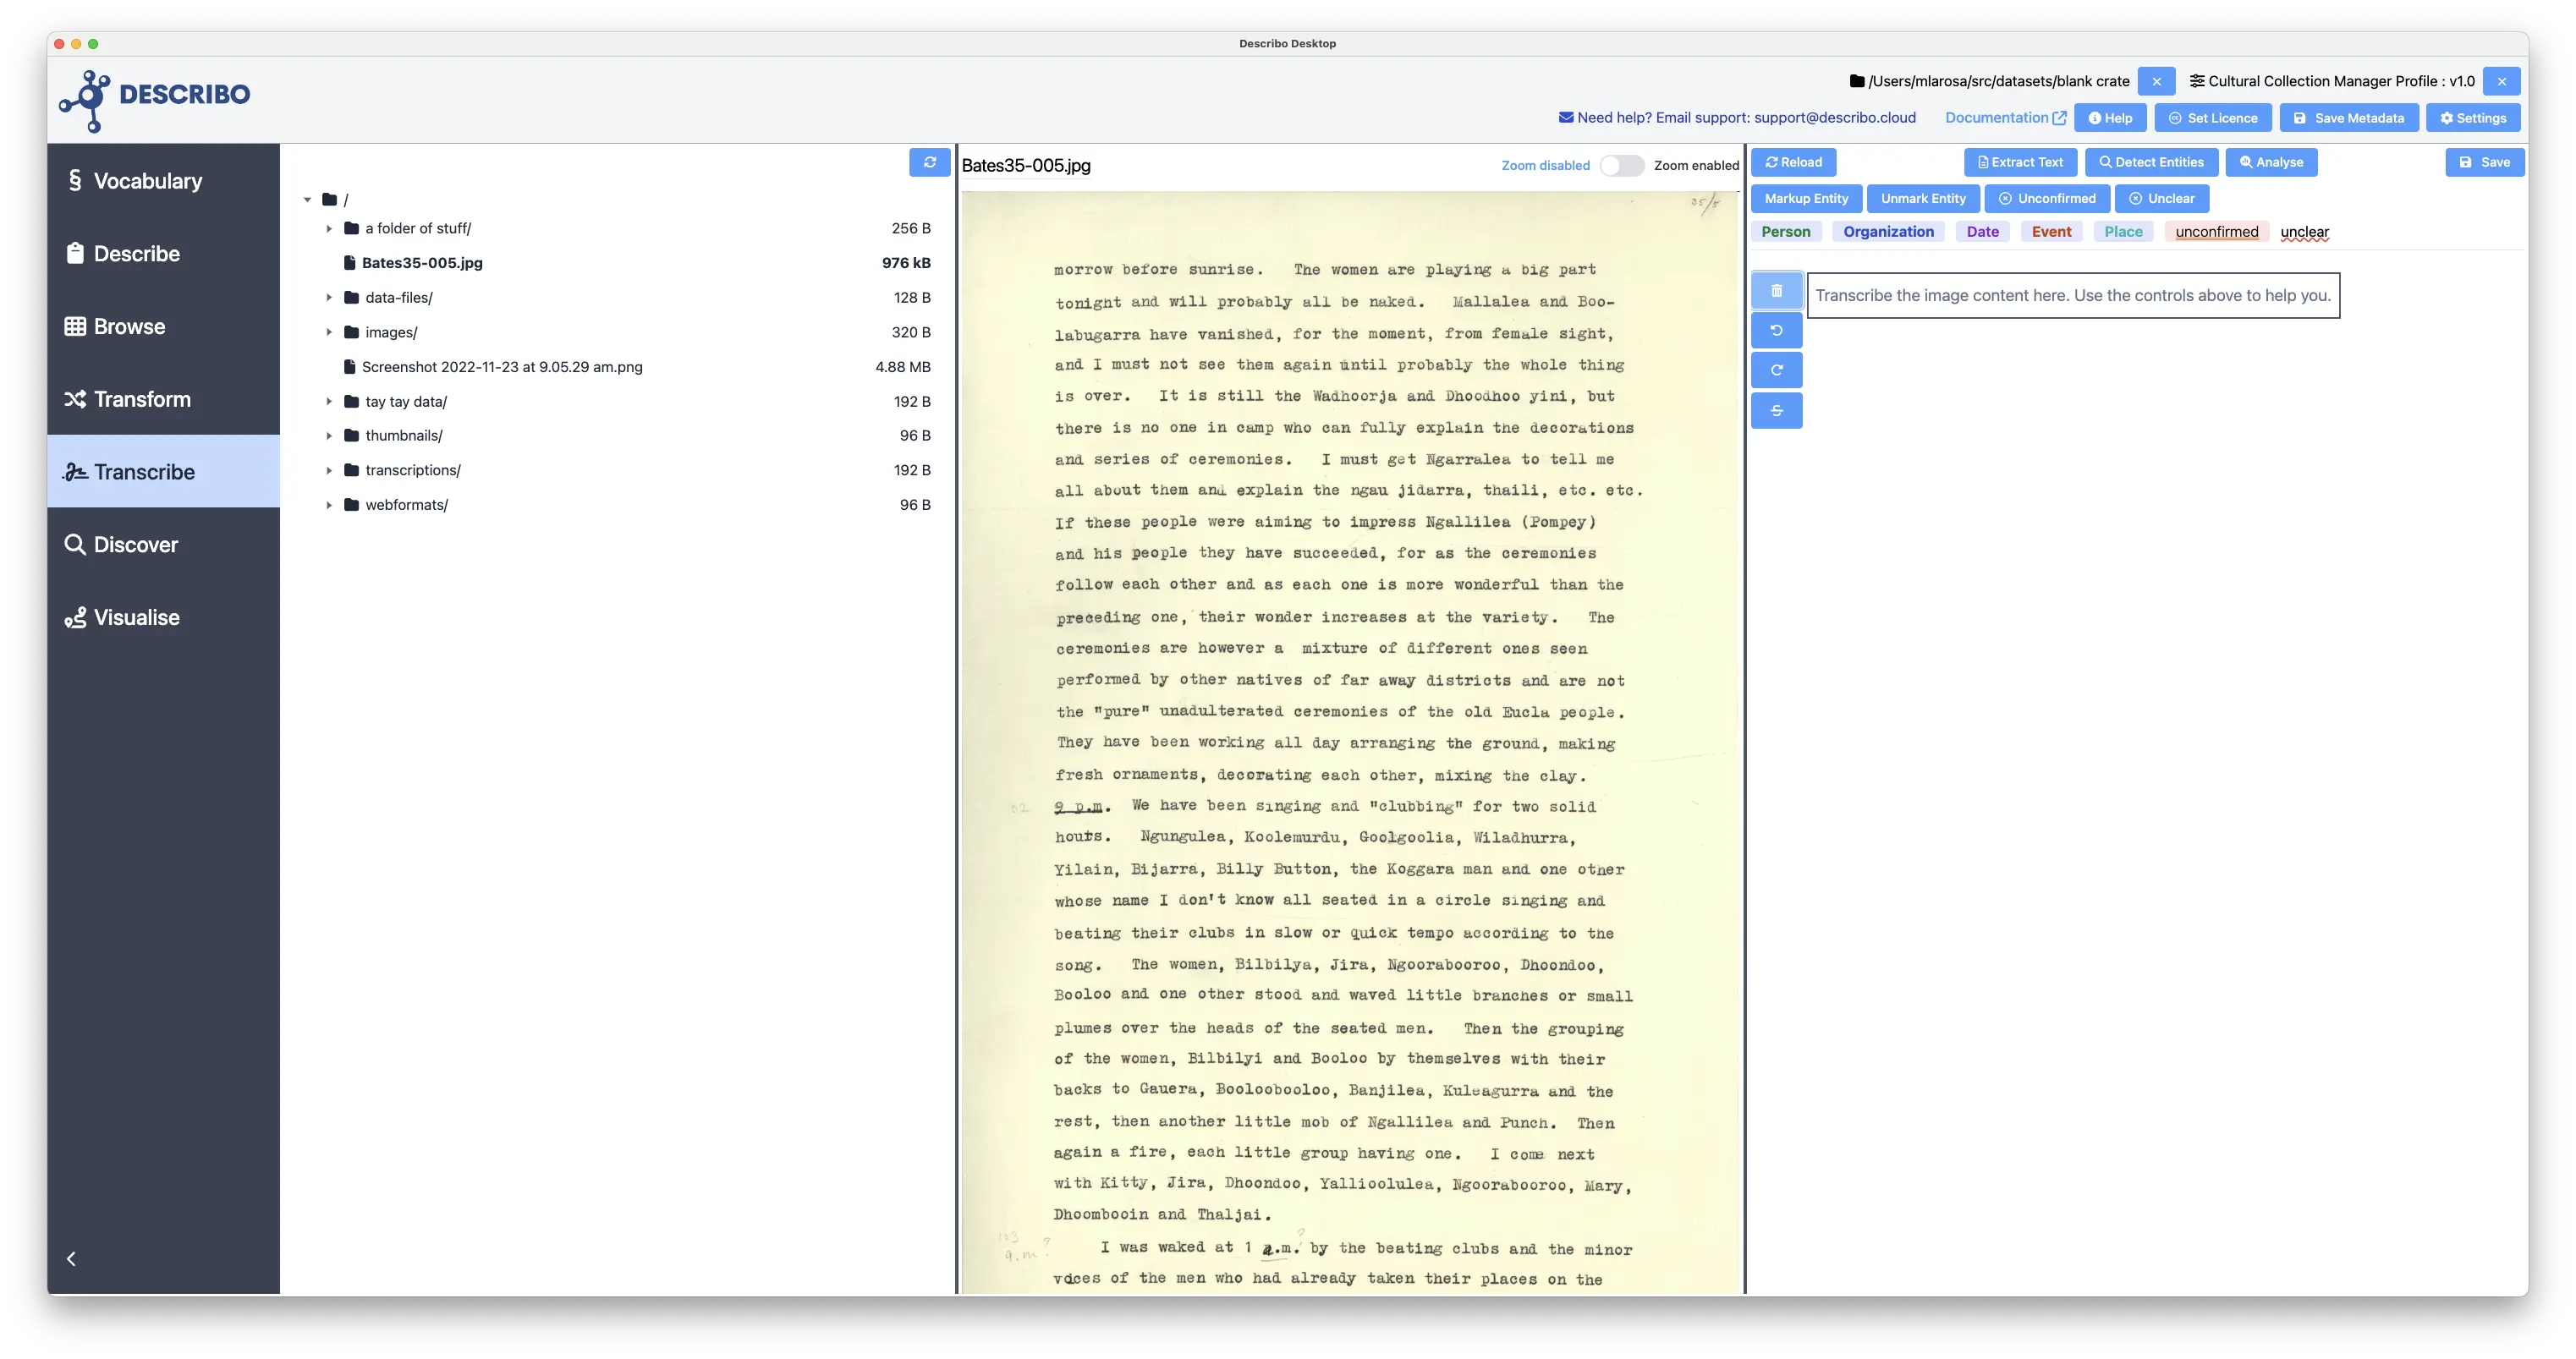
At this point you can immediately start transcribing the content of the image into the editor window in the right hand panel.
Along the top of the editor window are the controls including sending the page through OCR; performing entity detection (for manually transcribed content); deleting the text; undo and redo and marking up the entities in the page.
At the bottom of the controls is a legend for the different markup that is applied to the entities.
Performing OCR
OCR (Optical Character Recognition) is provided by the describo cloud service. As a general rule, it can read type written pages with almost perfect accuracy and do a more then admirable job on handwritten content. So, you probably always want to try this first and then fix the results unless the content is particularly difficult to read.
TIP
If you can't read the text (for example because it's complex handwriting or the contrast is bad) then it's likely the text extraction service will struggle as well. In those cases you probably just want to manually transcribe the text bit by bit but since the cost per page is on the order of fractions of a cent, having a go won't cost much.
In the following two images, the control Extract text is pressed and after a few moments, the text is written into the transcription editor.
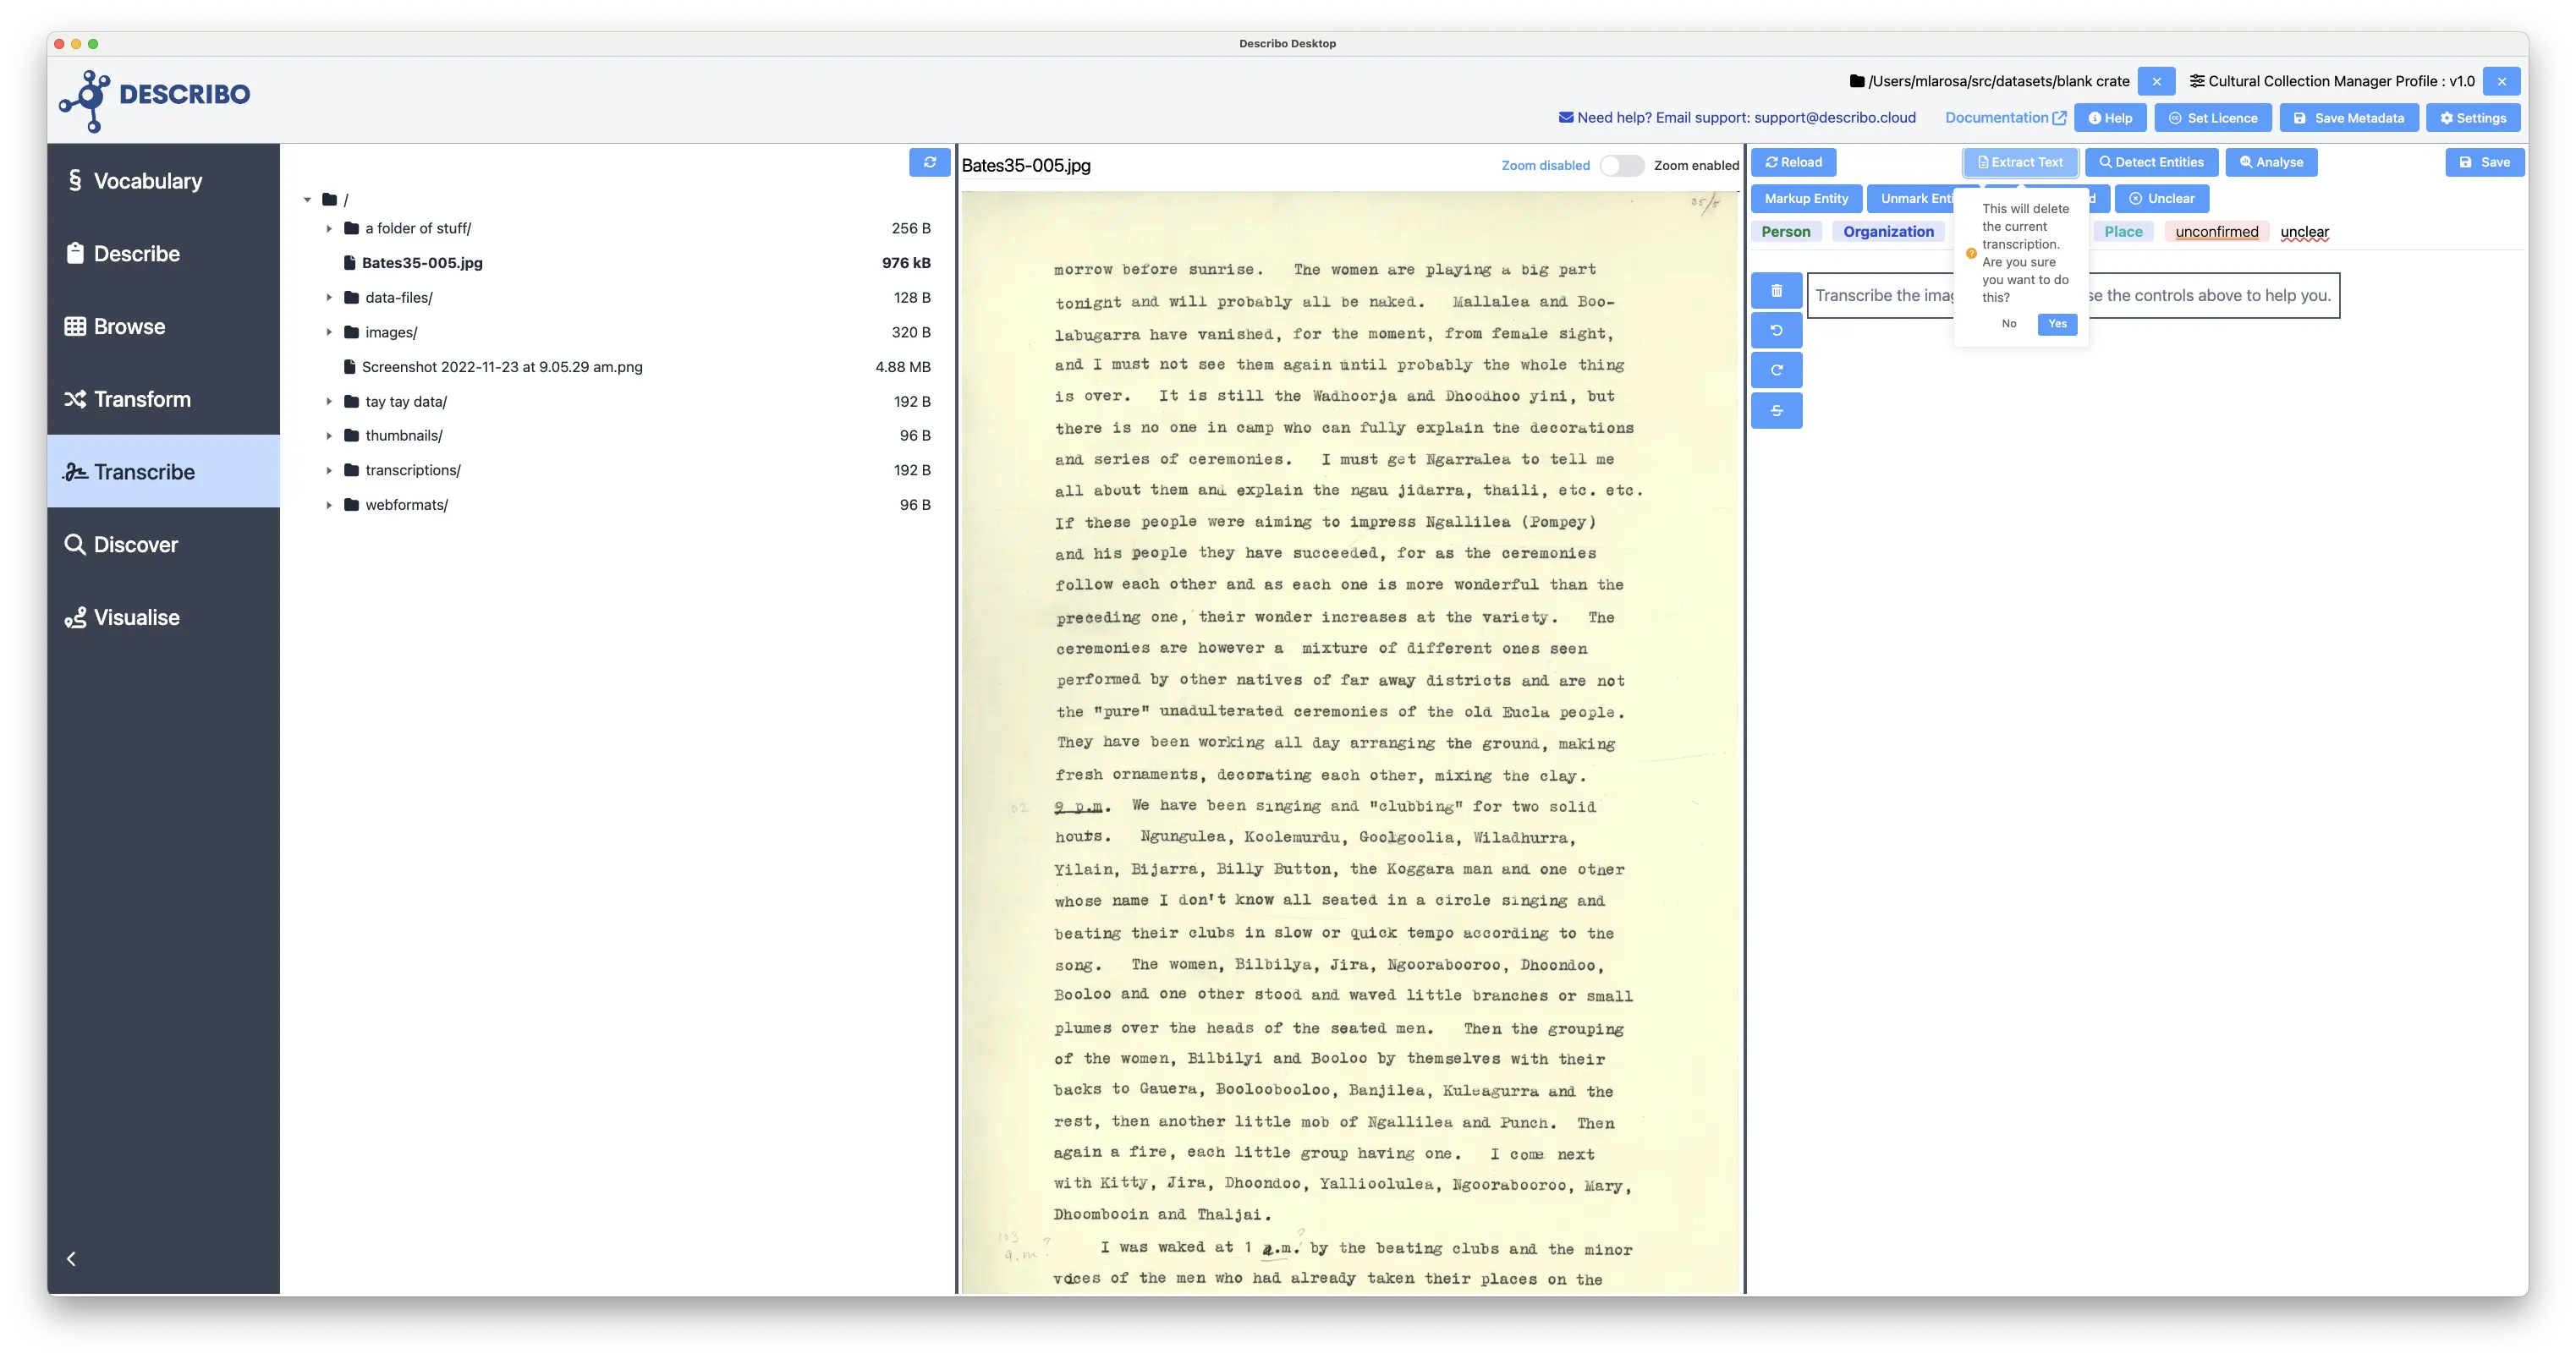
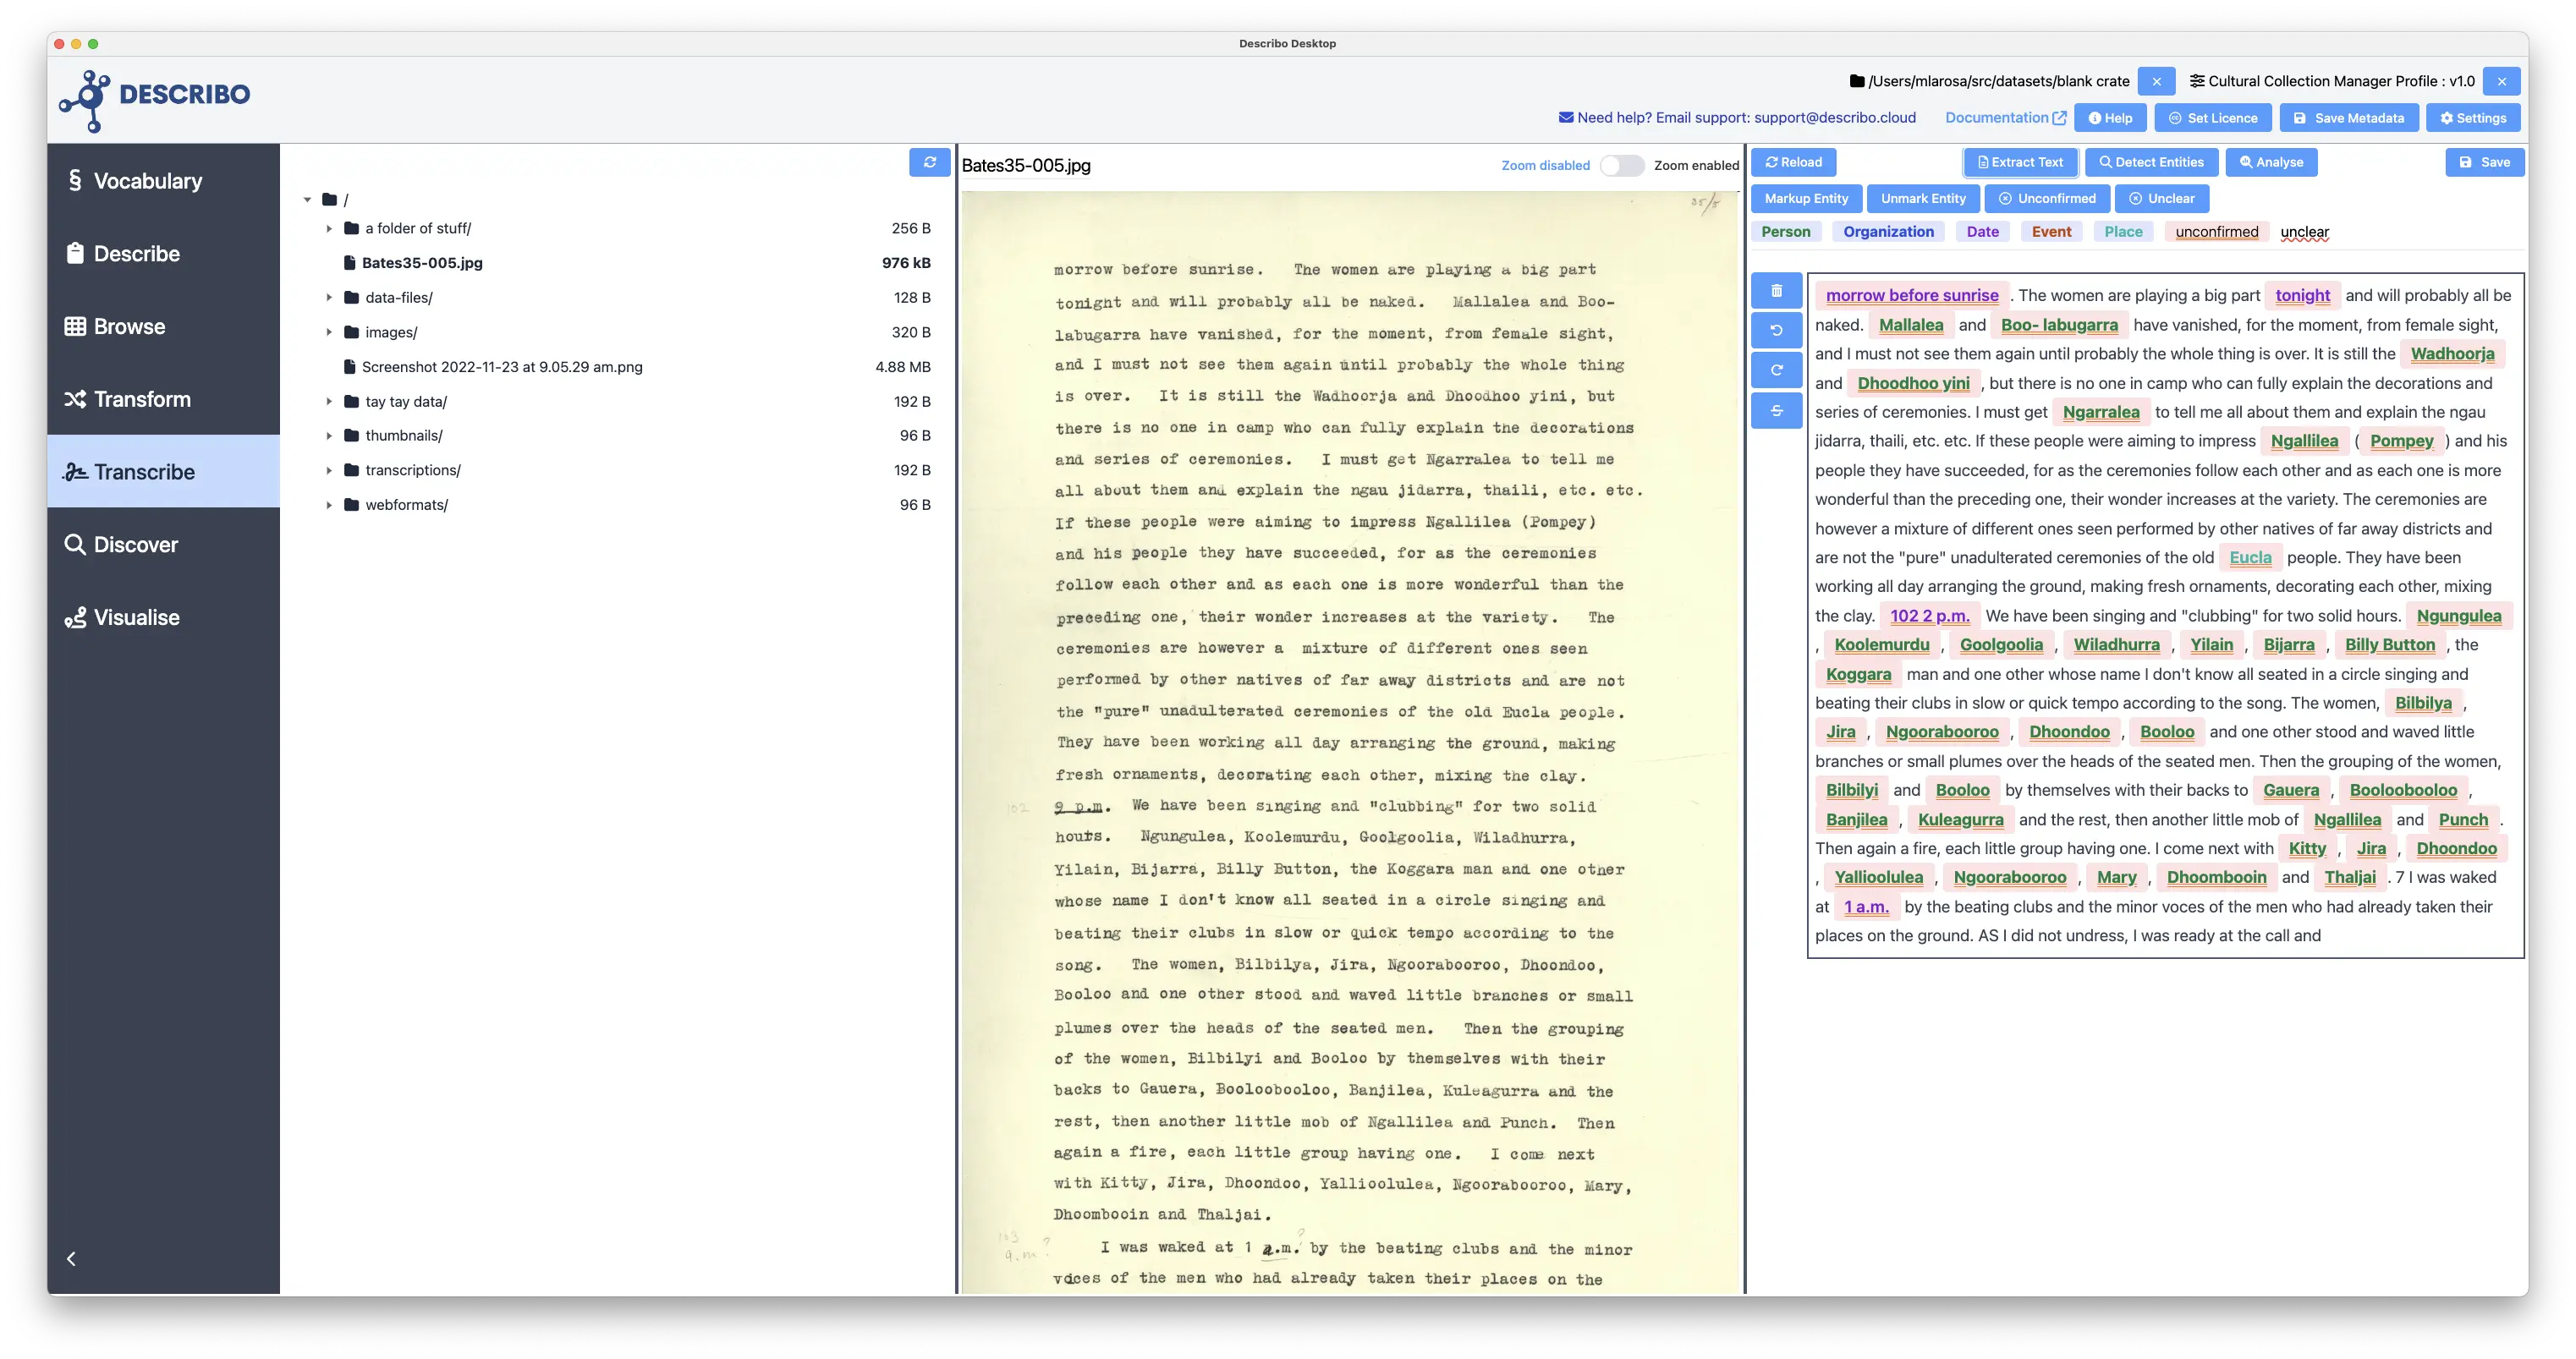
Immediately we notice a few things. The entities are marked up in the text. Dates are purple whilst People are green. The background for each entity is red meaning that the entitiy needs to be confirmed by you.
Highlighting an entity in the text and then pressing Markup Entity in the controls allows you to mark up that entity in the RO-Crate. In the following example we are saying that that entity in the text is a Person with name Wadhoorja.
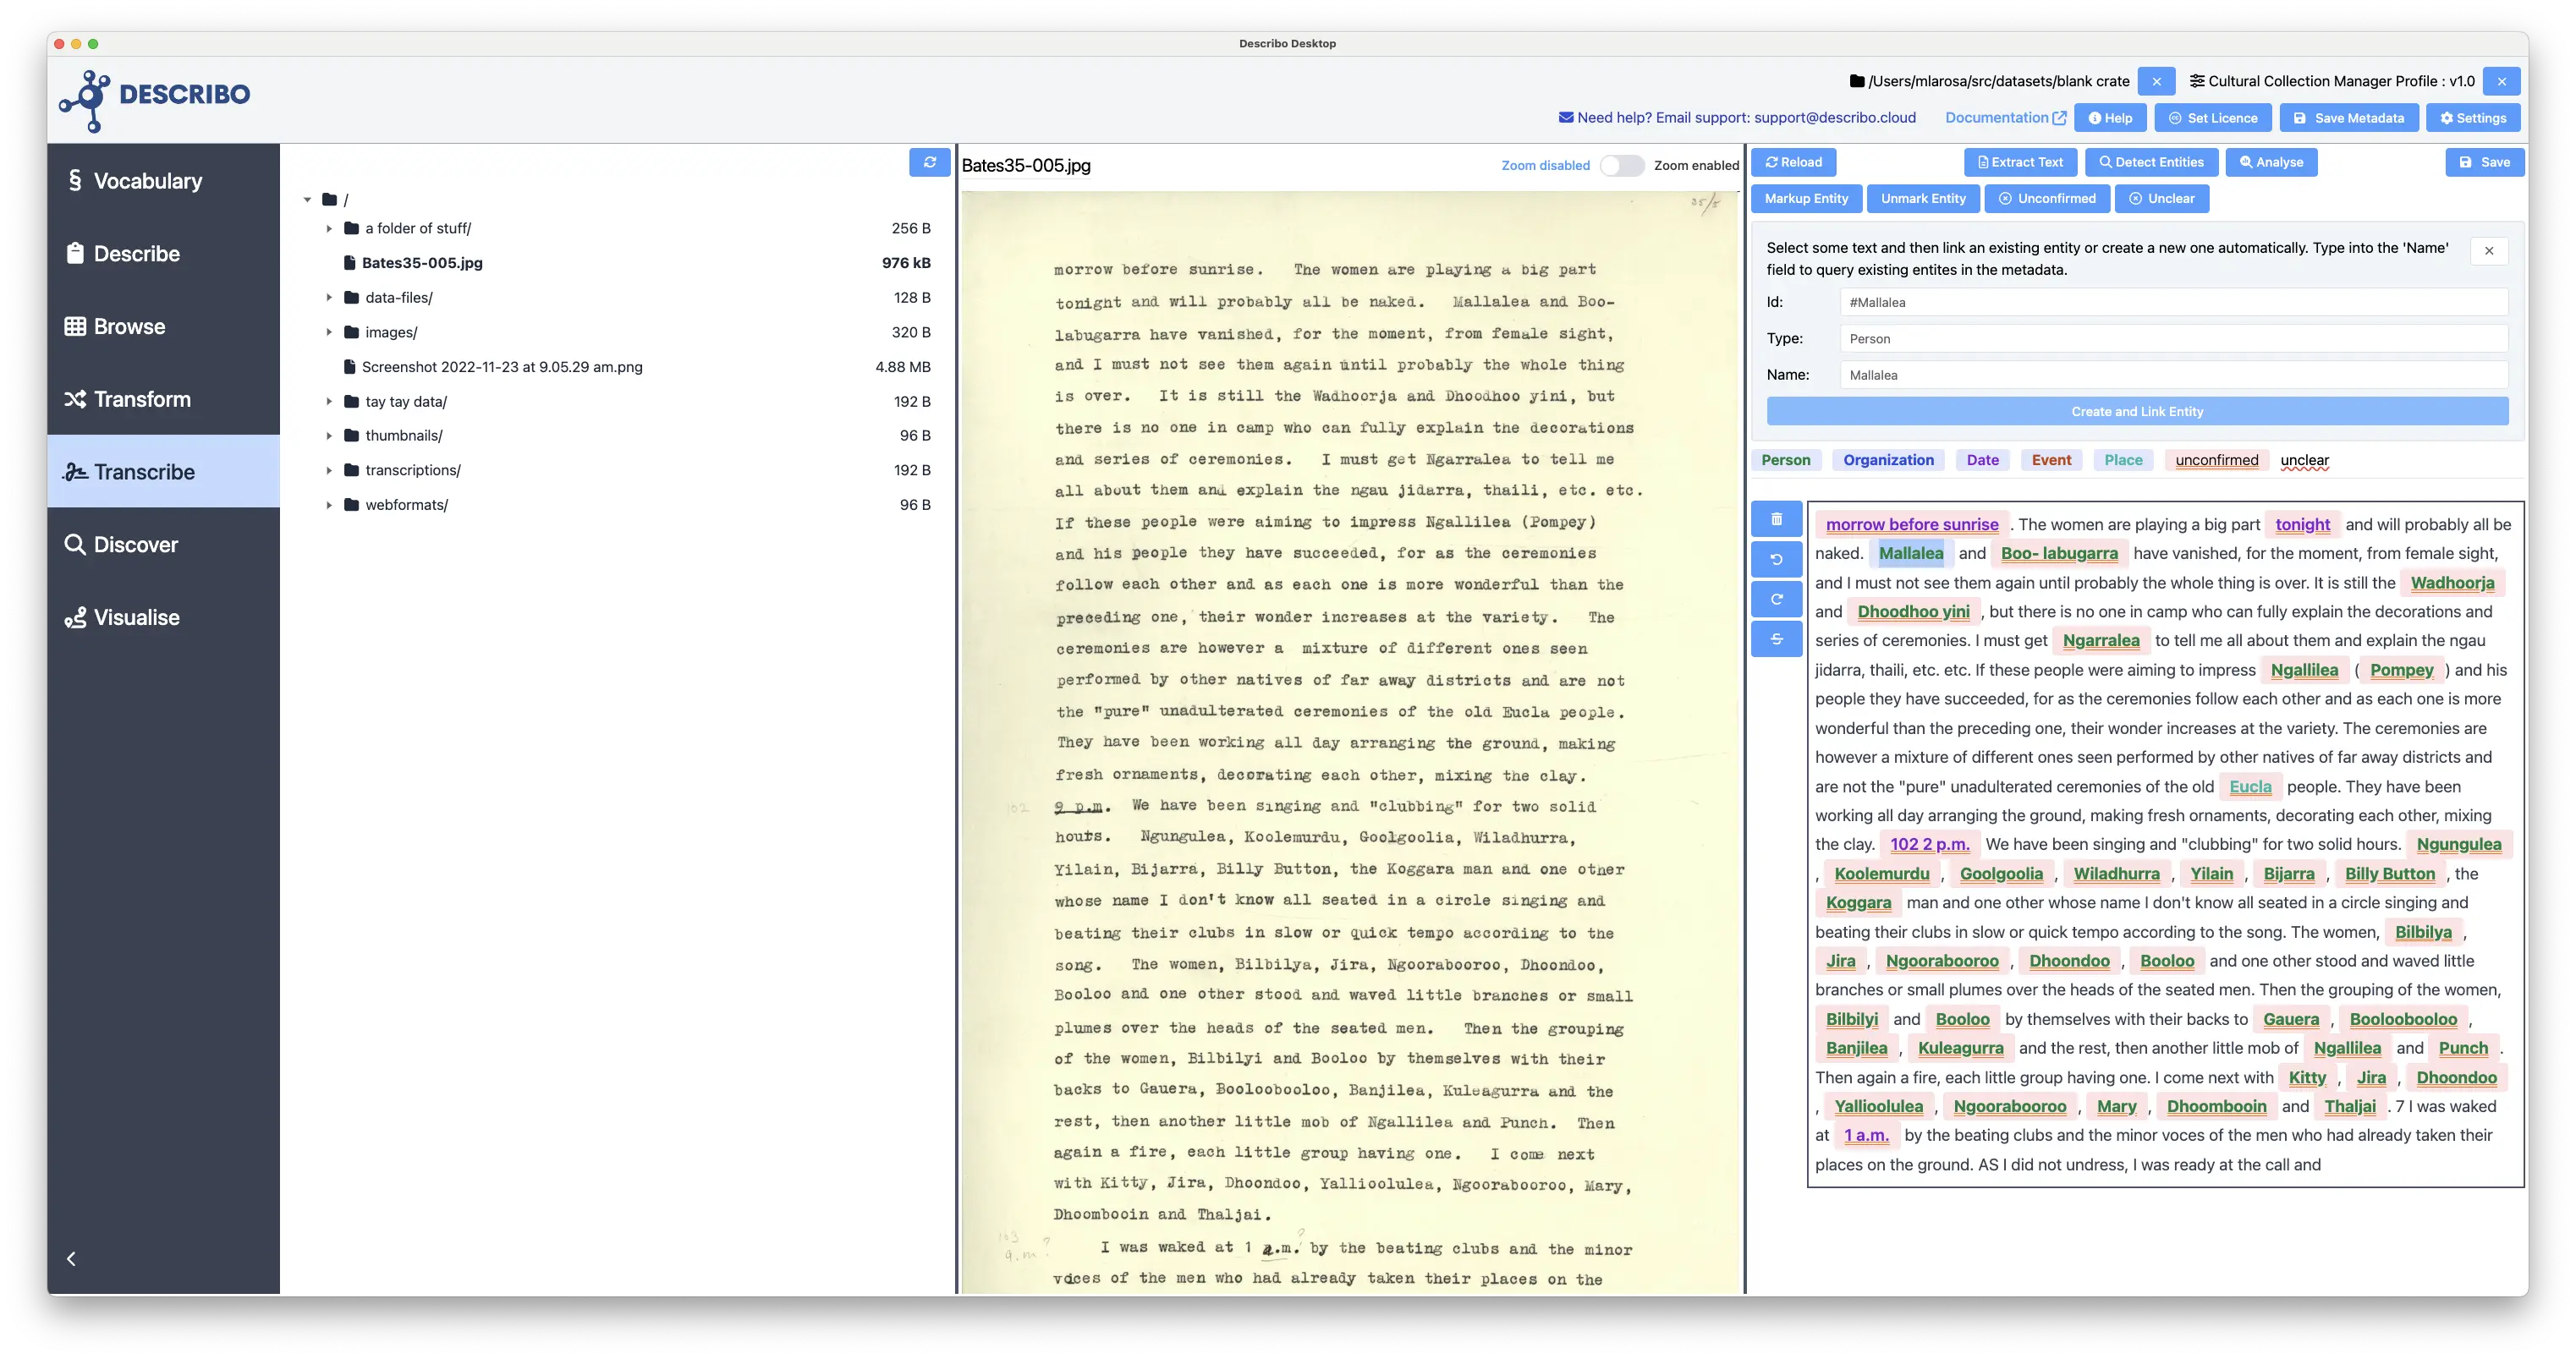
After pressing Create and Link Entity the background has changed to indicate that the entity has been confirmed by you. Entities can be unmarked by highlighting them and selecting Unmark Entity.
You can also select any other text and mark it up as an entity; either one already defined or a new one altogether. And when you have marked up the entities you are interested in, you can clear all the unconfirmed entities by pressing (x) unconfirmed.
TIP
You can change the content in the markup entity controls before creating the entity. So, if you want to change the entity type or @id property, you can do that.
TIP
If you want to link an entity in the text to an entity that has already been defined, type into the Name: field for a lookup into the metadata.
Content markup
In this way, you can go through and markup all of the entities in the text. In the following example two entities have been marked up as People: Mallalea and Wadhoorja.
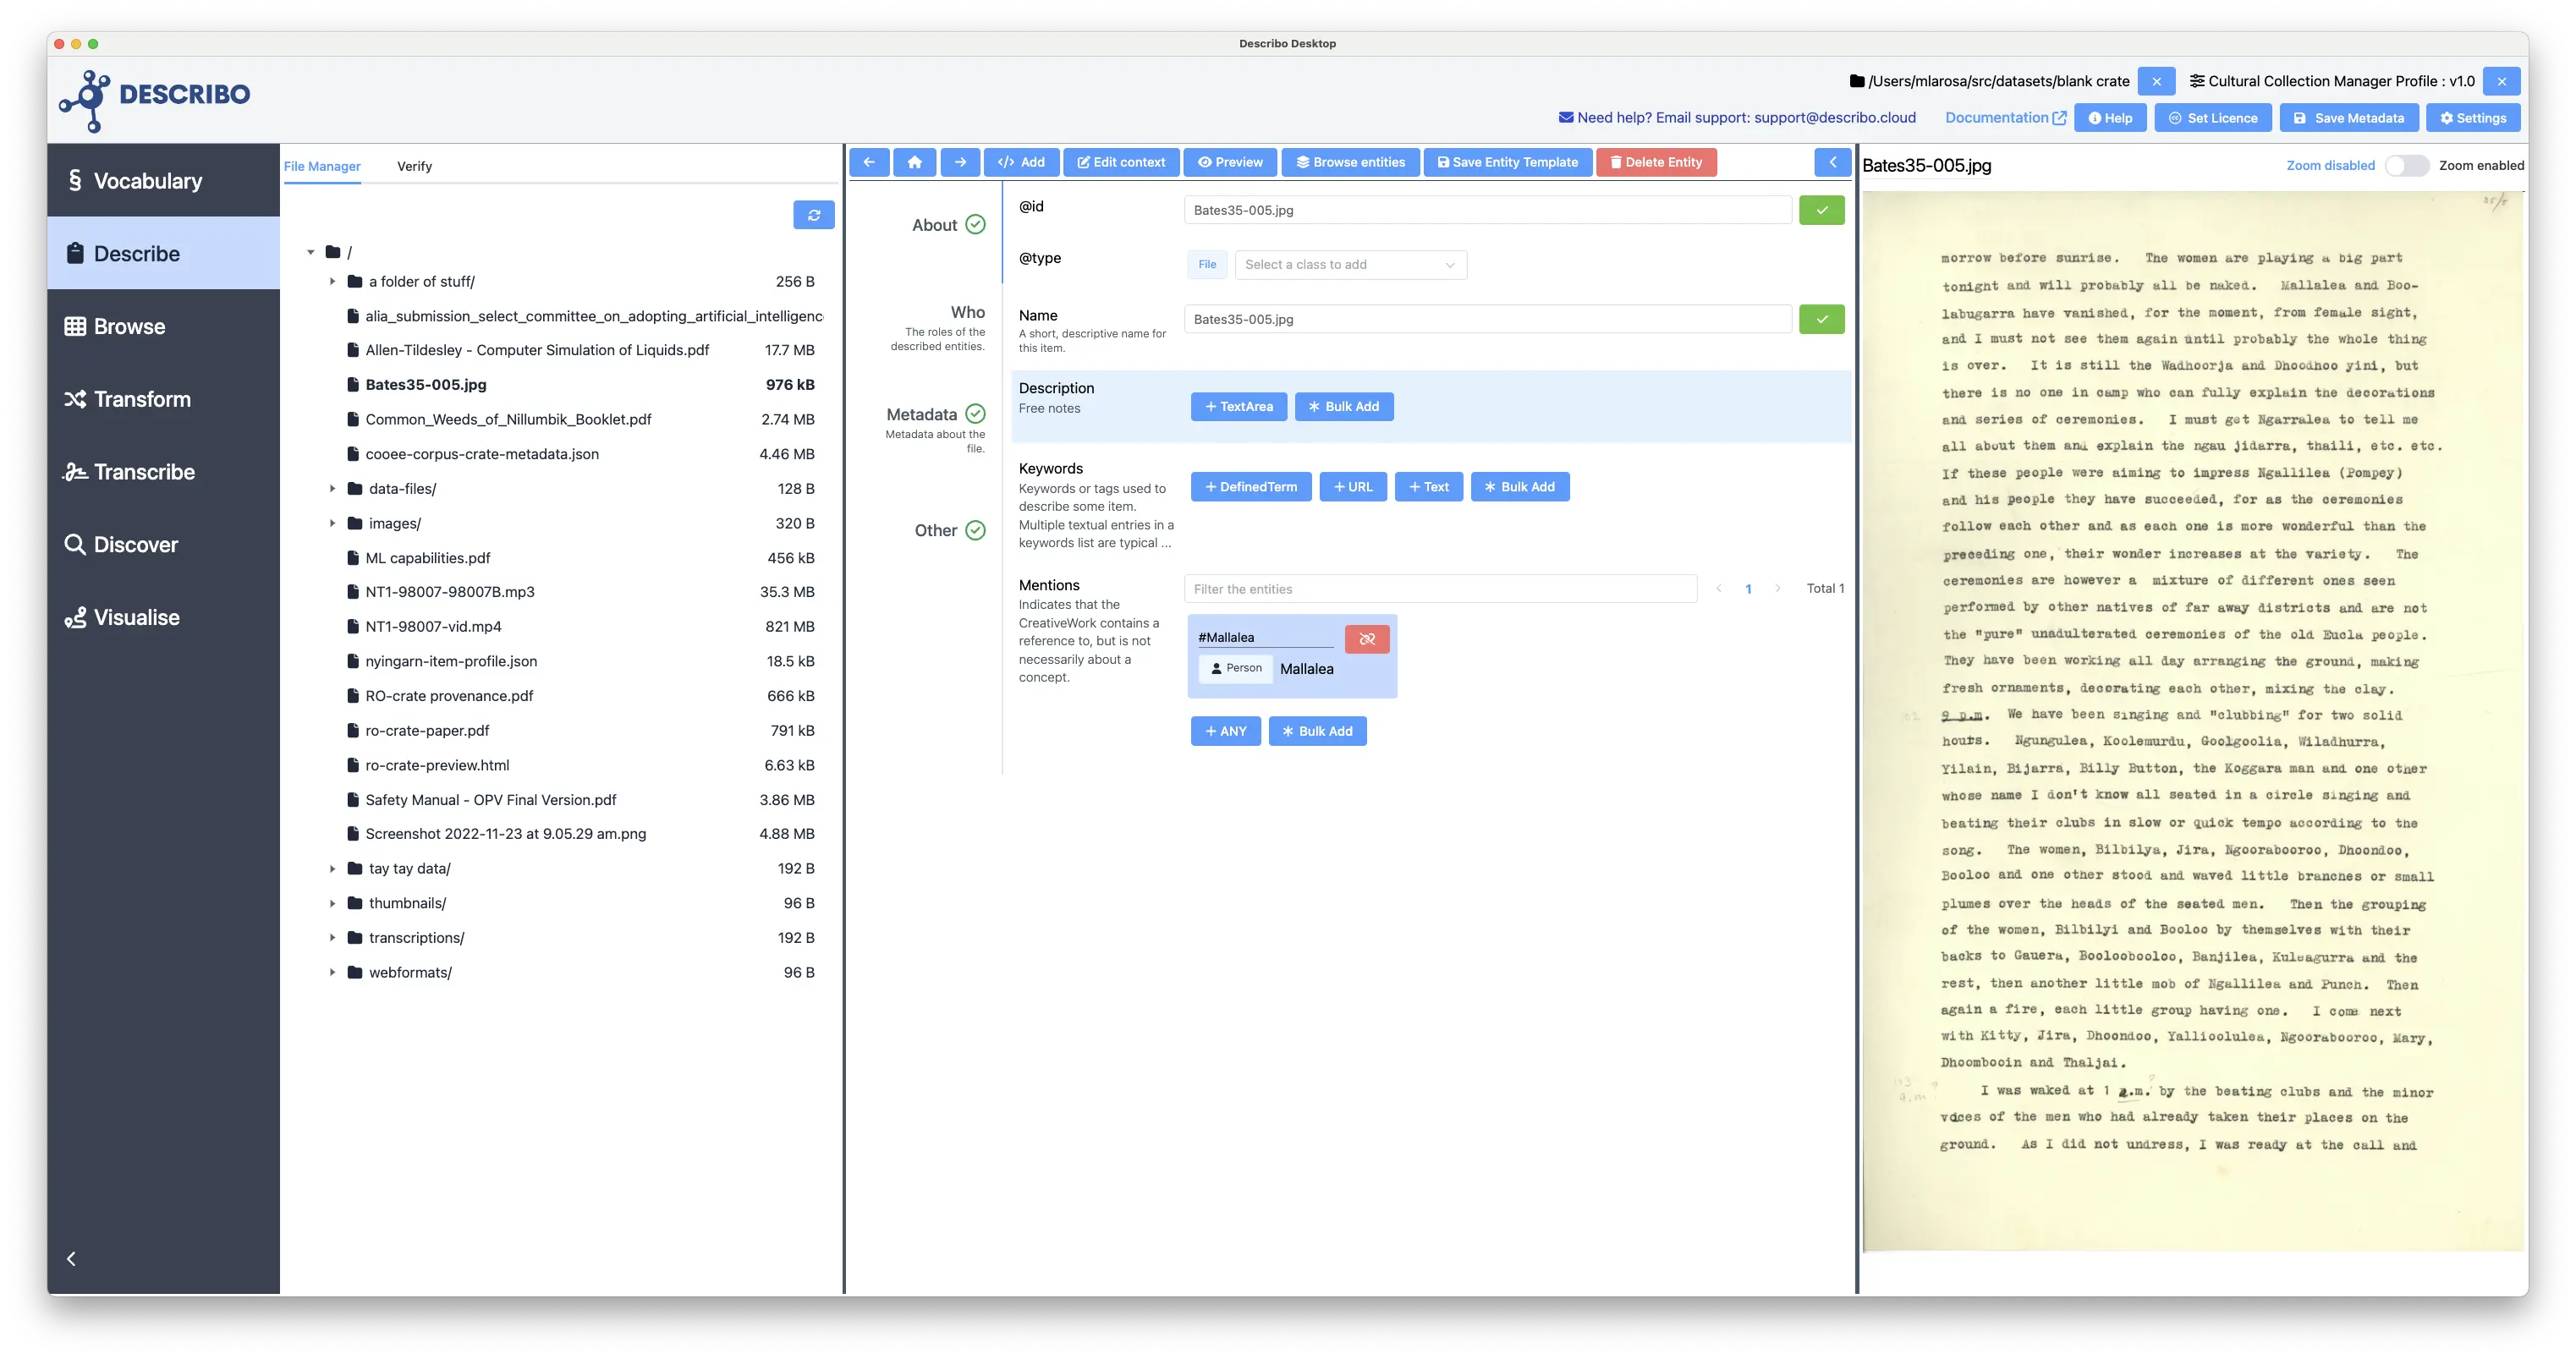
And when we go back to the Describe tab we see that the entities are listed in the mentions property against the file. On this tab we can also see some extra files have been created and associated:
Has Ocr Data fileis a reference to the OCR raw dataHas Transcriptionis a reference to the transcription marked up as a HTML file.
If we look at the content of the html file we see that the entity data is marked up as HTML data attributes. In the following example, the first entity has the class unconfirmed whilst the second does not meaning that the second has been confirmed.


